 Tools
Tools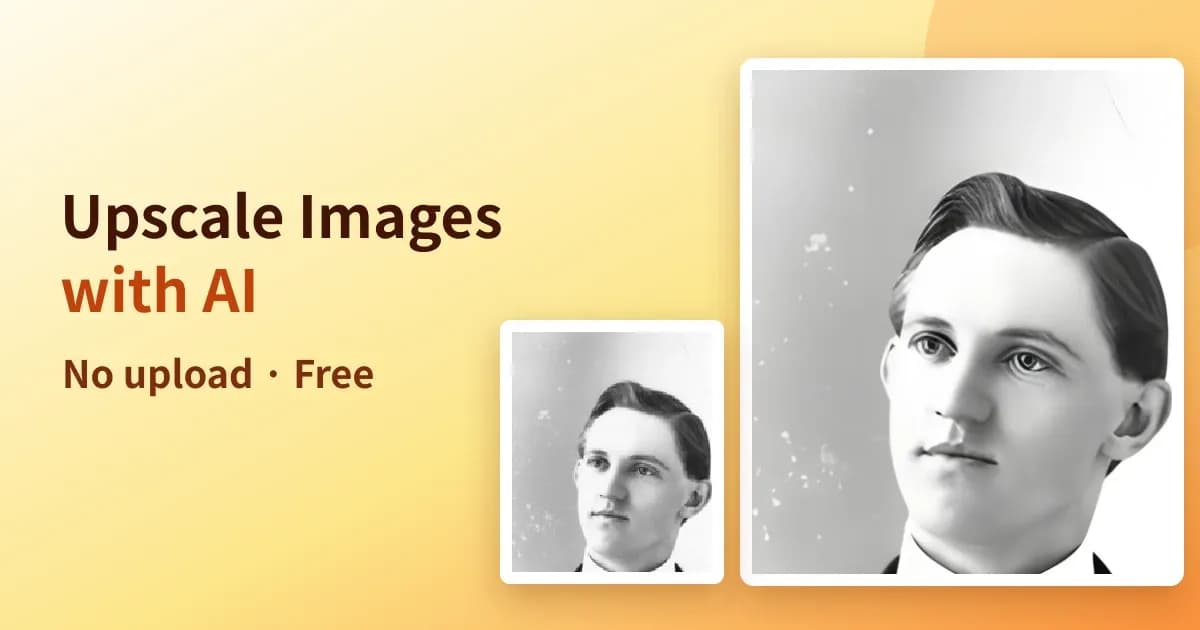
Enlarge a small image and the outlines go soft, with stair-stepped edges appearing along them. An image someone sent you that had already been shrunk, or a screenshot you need to print — there are plenty of times you have to make something bigger than the original, and the enlarge function in an image editor only fills the missing pixels by mixing the colours around them, so the bigger you go the blurrier it gets.
AI can draw those missing parts back in plausibly, working from features it has learned. Most web services that advertise this, though, are built around uploading, and plenty of the free ones cap the resolution or stamp a watermark on the result.
This article explains how to use the AI upscaler in "Media Tools", which I built, to enlarge an image 2× or 4× without sending it anywhere. Everything runs inside the browser.
What You'll Learn from This Article
- How AI upscaling differs from a plain resize
- How to upscale an image 2× or 4×
- Choosing between 2× and 4×
- Which images suit AI upscaling and which do not
- How much a GPU changes the processing time
All you need is the image and a browser. There is no app to install, no account and no fee, and the image is never uploaded.
How it differs from a plain resize
Below is the area around a face in the same 320×433 photo, shown at the same size. On the left is a plain resize, in the middle is AI at 2×, and on the right is 4×.

The plain resize leaves the pixels sitting there as squares and the area around the eyes falls apart, whereas the AI version at 2× brings the outlines back and even makes the flow of the hair legible. The 4× version is smoother still, but the texture of the skin is lost and the whole thing reads as flat. That is a tendency of "Real-ESRGAN", the AI model this tool uses: turning the factor up does not simply keep making things better.
Method | How missing pixels are filled | When it fits |
|---|---|---|
Enlarging in an image editor | Mixes the surrounding colours | Going slightly bigger |
AI (Real-ESRGAN) | Draws from learned features | The original is small; outlines matter |
That said, the AI is not recovering the original information. Pixels lost in the downscale do not come back. It is drawing new lines and texture that merely look right, so enlarging an image whose small text has collapsed will not turn that text into something readable.
What to prepare
- The image you want to enlarge (JPG, PNG, WebP and HEIC can be loaded as they are)
- A browser (Chrome, Edge, Safari or Firefox)
- About 64MB of traffic on the first run, to fetch the AI model
There is no Python environment to set up and no need for a PC with a discrete GPU. Where WebGPU is available it runs on the GPU, and where it is not it falls back to the CPU.
How to upscale
There are three steps: pick the factor, load the image, and press "Run".

Free tool that enlarges small images and old photos 2× or 4× with AI (Real-ESRGAN). Inference runs in your browser, so images are never uploaded. WebGPU supported, no sign-up.
 media.tools.ryusei.io
- Open the AI upscaler page in your browser.
- Choose 2× or 4× under "Scale".
- Drop in the image you want to enlarge, or click to select it, then press "Run".

When it finishes, the result row offers "Compare", "Copy" and "Save". For a single image "Save" writes it out, but when processing several at once it is better to set a destination with "Choose output folder" first so each one is written there as it completes, and I switch between the two depending on how many images there are. "Compare" puts the result next to the original so you can check it.
The first run has to fetch the AI model, so on my machine (Radeon 780M / WebGPU) a 320×433 photo at 2× took 22.44 seconds. From the second run onward the model is kept in the browser, so the same image finishes in 5.83 seconds.
Choosing between 2× and 4×
A higher factor costs both time and output size. Here is what I measured on the same 320×433 photo.
Factor | Output size | Time | File size |
|---|---|---|---|
2× | 640×866 | 5.83 s | 420.5 KB |
4× | 1280×1732 | 28.48 s | 1.3 MB |
4× takes roughly five times as long as 2×. That follows from the output having four times the pixels, but picking 4× by default means waiting for it.
I use 2× as a matter of course and only move up to 4× when that is not enough. As the comparison above shows, 4× is smoother but loses texture, so a higher factor is not automatically better. Unless you genuinely need the image four times as wide and as tall, as you might for printing, 2× is usually plenty.
Images that suit AI upscaling and images that do not
Real-ESRGAN can restore photographic texture and the lines in illustrations, which makes it a fit for enlarging small images saved off the web. The following, however, do not get their detail back when enlarged.
- Small text that the downscale destroyed. It will not become readable
- Fine detail in faces. Everything smooths out and reads as flat
When the face is what you want sharpened, the face restoration tool with its dedicated model is the better fit. That one redraws only the faces with a different model called "GFPGAN", and the "Upscale first" option lets you enlarge and restore the faces in a single pass.

How to restore a scanned old photo whose faces have collapsed into grain, or a picture that blurred when enlarged. Everything runs inside the browser, so the photo is never sent anywhere, and there is no account and no fee. Group photos are handled in one pass.
Large images are shrunk before being enlarged
To protect the memory on your device there is a cap on the input, around 3 million pixels on WebGPU and around 480,000 on the CPU, and anything above that is automatically shrunk before it is enlarged. The CPU cap is lower because processing on the CPU is slow, and a large image would mean too long a wait.
Running a 2000×1600 image (3.2 million pixels) at 2× produced the message "the input was too large, so it was shrunk from 2000×1600 before upscaling" and took 112.64 seconds. Going over the cap adds the shrinking step on top of the larger pixel count, so the time stretches out.
There is not much point pointing this tool at an image that is already large. Enlarging with AI is effective when the original is small. If the quality of a large image bothers you, compression or noise reduction fits the goal better than enlargement, in my view.
A GPU makes a 12× difference
I measured the same images with and without WebGPU available.
Image | GPU (WebGPU) | CPU (WebAssembly) |
|---|---|---|
320×433 at 2× (first run, model included) | 22.44 s | 132.49 s |
320×433 at 2× (second run) | 5.83 s | 72.19 s |
500×530 at 2× | 8.36 s | 118.98 s |
The gap is about 12×. It still runs on the CPU, but the wait is a different thing entirely, so for when it feels slow the page shows whether the GPU or the CPU did the work once it finishes. A recent version of Chrome or Edge will have WebGPU.
The CPU path runs on a single thread. SharedArrayBuffer would allow several, but that requires the COEP header, and setting it narrows the range of external resources the site can load, so I left it alone for now.
It processes the image in small sections
Handing the whole image to the AI at once runs out of memory, so it is split into small sections (tiles) that are processed separately and stitched back together. Tiles are 256 pixels on WebGPU and 128 on the CPU.
Cutting and stitching straight would leave the seams visible as lines, so each tile is processed with 12 extra pixels around it and that border is discarded from the output. The area outside the image is filled with the edge pixels.
Making every input tile the same size made it more than four times faster. At first the odd-sized tiles at the edges of the image were passed through as they were, and WebGPU appears to have been rebuilding its shader (the program it runs on the GPU) each time the dimensions changed: enlarging a 320×240 image 2× took 20 seconds, and it came down to 4.5 seconds. Padding the edges and throwing them away is there to hide the seams and to keep those dimensions constant at the same time.
Frequently asked questions
Is it free?
Yes. There is no account and no login, no limit on how many images you can process, and no watermark.
Is my image sent to a server?
No. The AI processing runs inside the browser, so the image you load never leaves your device, and the only thing fetched on the first run is the AI model file. Apart from downloading the model, Media Tools sends processing statistics (such as the tool and settings used and the device specs) to the site's server, but these do not include the image itself, file names or IP addresses. You can turn this off with the "Send processing statistics" switch near the bottom of the page.
How large an image can it handle?
There is a cap on the input: around 3 million pixels on WebGPU and around 480,000 on the CPU. Anything above that is shrunk first, and the page says so.
Can it make collapsed text readable?
No. Information lost in the downscale does not come back, so the AI only draws shapes that look plausible. Text is where that goes wrong most visibly.
Why do faces come out flat?
That is a known tendency of Real-ESRGAN. Use the face restoration tool when the face matters, and its "Upscale first" option covers enlargement and face restoration in one pass.
Can I use it on a phone?
Yes. The first run involves about 64MB of traffic, which is a practical amount even on mobile data. On devices without WebGPU it runs on the CPU, which takes longer.
Summary
Enlarging a small image takes no upload and no account. Pick a factor, press "Run", and it grows without losing its outlines.
- Unlike a plain resize, the AI estimates the missing parts and draws them in
- That does not bring the original information back. Collapsed text stays unreadable
- On my machine 2× took 5.83 seconds and 4× took 28.48 seconds; higher factors cost texture
- A GPU is worth roughly a 12× difference against the CPU
- When faces are what matter, pair it with the dedicated face restoration tool
Related articles and tools

Removing the background from an image does not require uploading it anywhere. Here is how to cut out people and products with AI running inside your browser, which of the two models to use, and the processing times I measured.

Convert, compress and edit images, audio and video entirely in your browser, with AI upscaling and background removal. Free, no upload, no size limit, no sign-up.
 media.tools.ryusei.io
 Programing
 Python
 Hosting